Balcony & Indoor Setup for Kochia – Haryana Guide: Step-by-Step & Yield Tips
In the ever-evolving world of agriculture, the pursuit of sustainable and efficient crop cultivation has become a paramount concern. One such crop that has gained significant attention in the Haryana region is Kochia, a resilient and versatile plant with a multitude of applications. This comprehensive guide will take you through the step-by-step process of setting up a Kochia cultivation system on your balcony or indoors, along with valuable insights to maximize your yield.
Understanding Kochia: A Resilient Wonder
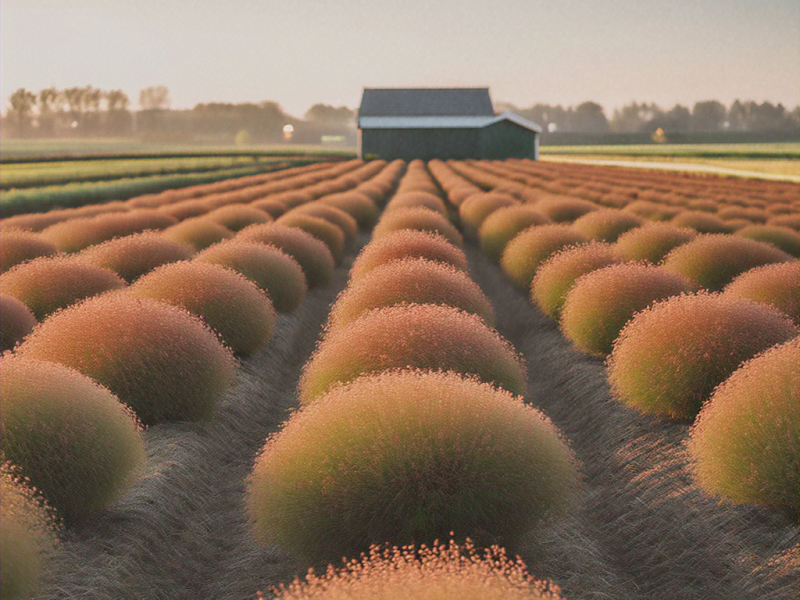
Kochia, also known as Bassia scoparia or Summer Cypress, is a hardy annual plant that thrives in arid and semi-arid climates. Originating from Eurasia, this plant has found a welcoming home in the diverse landscapes of Haryana, making it a valuable addition to the region’s agricultural landscape.
Kochia’s remarkable adaptability, drought tolerance, and robust growth patterns make it an ideal choice for urban and peri-urban farming. Its ability to thrive in challenging conditions, including poor soil quality and limited water availability, sets it apart as a crop that can contribute to food security and sustainable agricultural practices.
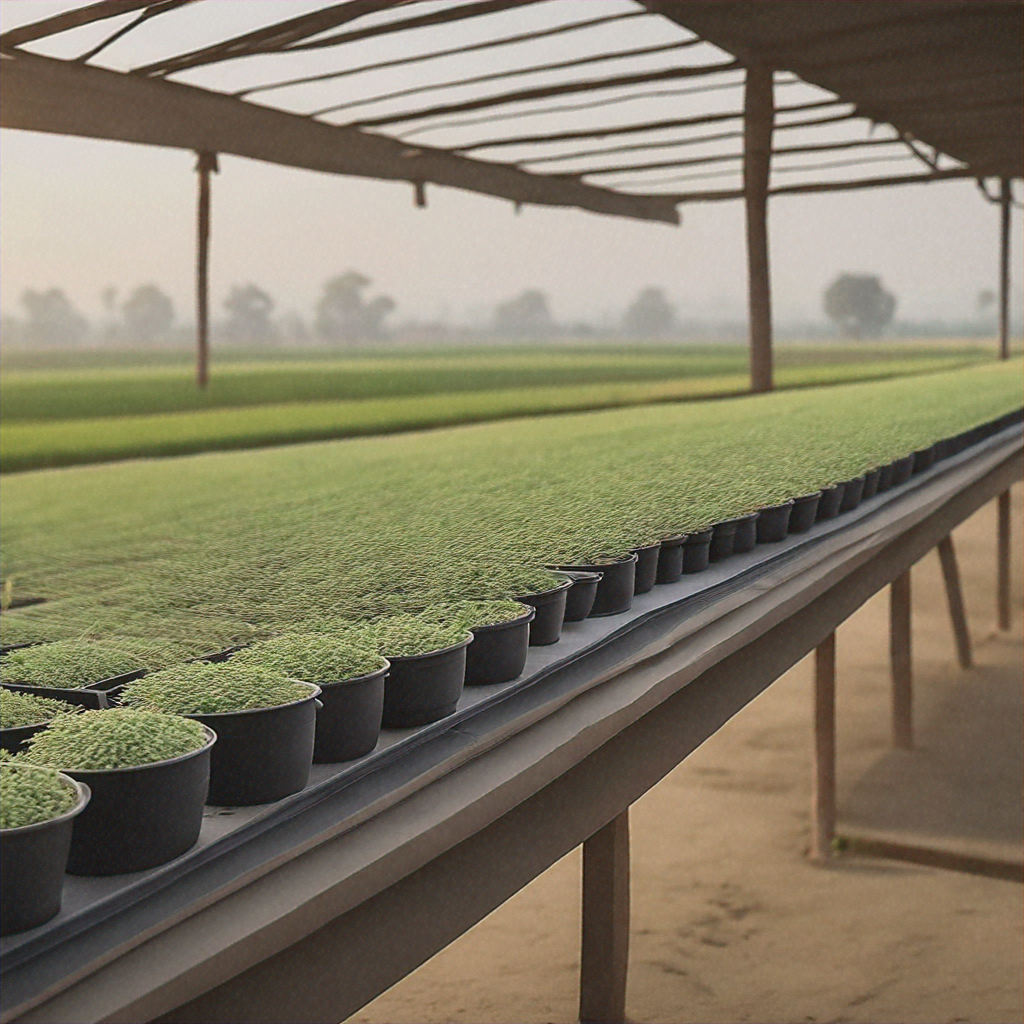
Balcony Cultivation: Maximizing Your Urban Space
Setting up a Kochia cultivation system on your balcony is a practical and rewarding endeavor. By leveraging your available outdoor space, you can not only enjoy the bounty of this versatile crop but also contribute to the greening of your immediate environment.
Step 1: Choosing the Right Container
The first step in your balcony Kochia cultivation journey is selecting the appropriate container. Kochia thrives in well-drained soil, so opt for a container with ample drainage holes to prevent waterlogging. A minimum depth of 12 inches (30 cm) is recommended to accommodate the plant’s root system. Consider using a sturdy, durable material such as clay, terracotta, or high-quality plastic to ensure the longevity of your setup.
Step 2: Soil Preparation
Kochia prefers a well-draining, nutrient-rich soil mix. A combination of compost, vermiculite, and a small amount of sand or perlite can create the ideal growing medium. Ensure that the soil pH falls within the range of 6.0 to 8.0 for optimal growth. Before planting, mix the soil thoroughly and moisten it to the desired level of moisture.
Step 3: Sowing and Germination
Kochia seeds can be sown directly into the container or started indoors and transplanted later. Sow the seeds about 1/4 to 1/2 inch (0.6 to 1.2 cm) deep and space them approximately 8 to 12 inches (20 to 30 cm) apart. Keep the soil moist but not waterlogged during the germination process, which typically takes 7 to 14 days.
Step 4: Sunlight and Watering
Kochia thrives in full sun, so ensure that your balcony setup receives at least 6 hours of direct sunlight per day. Water the plants regularly, keeping the soil moist but not saturated. Adjust watering frequency based on weather conditions, as Kochia can tolerate periods of drought but may require more frequent watering during hot and dry spells.
Step 5: Pruning and Maintenance
Regular pruning can help maintain the shape and overall health of your Kochia plants. Trim any dead or damaged foliage and prune the plants to encourage bushy growth and increase yield. Additionally, be vigilant for any pests or diseases and address them promptly to ensure the continued thriving of your Kochia crop.
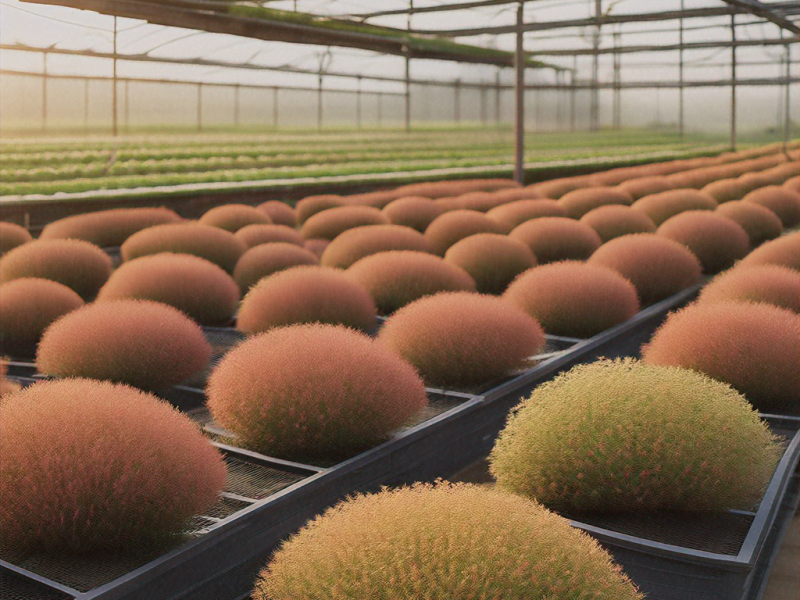
Indoor Cultivation: Expanding Your Harvest
For those with limited outdoor space or harsher climates, indoor Kochia cultivation can be a viable alternative. By setting up a dedicated growing area within your home, you can extend the growing season and enjoy a more consistent harvest throughout the year.
Step 1: Choosing the Right Grow Space
Select a well-lit area in your home, such as a sunny windowsill or a designated grow room with artificial lighting. Kochia requires a minimum of 6 hours of direct sunlight or equivalent artificial lighting per day. Ensure that the growing area has adequate air circulation to prevent the buildup of humidity and prevent the risk of mold or fungal diseases.
Step 2: Container and Soil Selection
The same principles for balcony cultivation apply to indoor setups. Choose a container with sufficient depth and drainage, and prepare a well-draining, nutrient-rich soil mix. Consider using a soilless potting mix or a hydroponic system to maximize the plant’s growth potential in the confined indoor environment.
Step 3: Lighting and Temperature
If natural sunlight is not sufficient, supplement your indoor Kochia setup with grow lights. Aim for a combination of warm and cool spectrum lights to mimic the natural light conditions. Maintain a temperature range of 65°F to 85°F (18°C to 29°C) for optimal growth.
Step 4: Watering and Feeding
Adjust your watering schedule according to the growing medium and environmental conditions. Maintain consistent soil moisture, but avoid overwatering, which can lead to root rot. Supplement your plants with a balanced, water-soluble fertilizer every 2-3 weeks to ensure they receive the necessary nutrients for robust growth and high yields.
Step 5: Pest and Disease Management
Vigilance is key when cultivating Kochia indoors, as the enclosed environment can be susceptible to pests and diseases. Regularly inspect your plants for any signs of trouble and address issues promptly. Consider using organic pest control methods or introducing beneficial insects to maintain a balanced ecosystem within your indoor grow space.
Maximizing Yield: Tips and Tricks
To ensure a bountiful harvest from your Kochia cultivation efforts, whether on your balcony or indoors, consider the following yield-boosting tips:
- Provide adequate spacing between plants to allow for proper air circulation and root development.
- Implement a nutrient management plan, using a balanced fertilizer and monitoring soil fertility regularly.
- Prune and maintain your plants consistently to encourage branching and increase the number of harvestable stems.
- Consider succession planting, where you sow new seeds every 2-3 weeks, to extend your harvesting season.
- Optimize growing conditions, such as lighting, temperature, and humidity, to create the ideal environment for your Kochia plants.
- Harvest the Kochia leaves and stems at the appropriate maturity stage to ensure optimal flavor, texture, and nutrient content.
Embracing the Future of Urban Agriculture
As we navigate the challenges of sustainable food production and environmental stewardship, the cultivation of Kochia on balconies and in indoor settings presents a promising solution. By harnessing the resilience and versatility of this remarkable crop, urban and peri-urban dwellers can contribute to food security, promote greener cities, and reap the numerous benefits that Kochia has to offer.
This comprehensive guide has provided you with the essential steps and valuable insights to set up a thriving Kochia cultivation system, whether on your balcony or within your home. Embrace the opportunities presented by this remarkable plant and embark on a journey of agricultural innovation that can positively impact your community and the planet as a whole.