Intelligent Growth Guide for Kochia – India Guide: Step-by-Step & Yield Tips
In the vast and diverse agricultural landscape of India, one crop stands out as a versatile and resilient choice: Kochia. Often referred to as “Kochia” or “Summer Cypress,” this hardy plant has captured the attention of farmers and agricultural experts alike, thanks to its adaptability, nutritional value, and potential for high yields. In this comprehensive guide, we delve into the intricacies of Kochia cultivation, offering step-by-step instructions and valuable yield tips to help you maximize your success in this thriving agricultural pursuit.
Understanding Kochia: The Versatile Crop
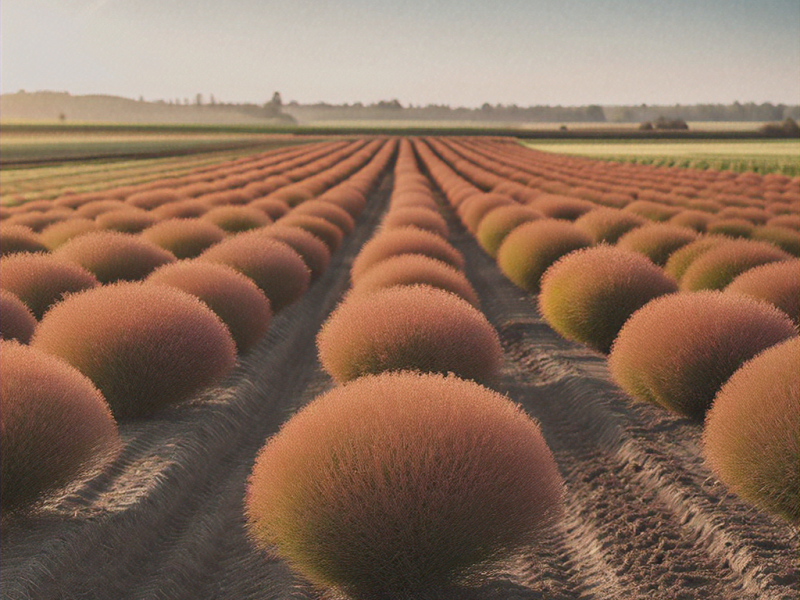
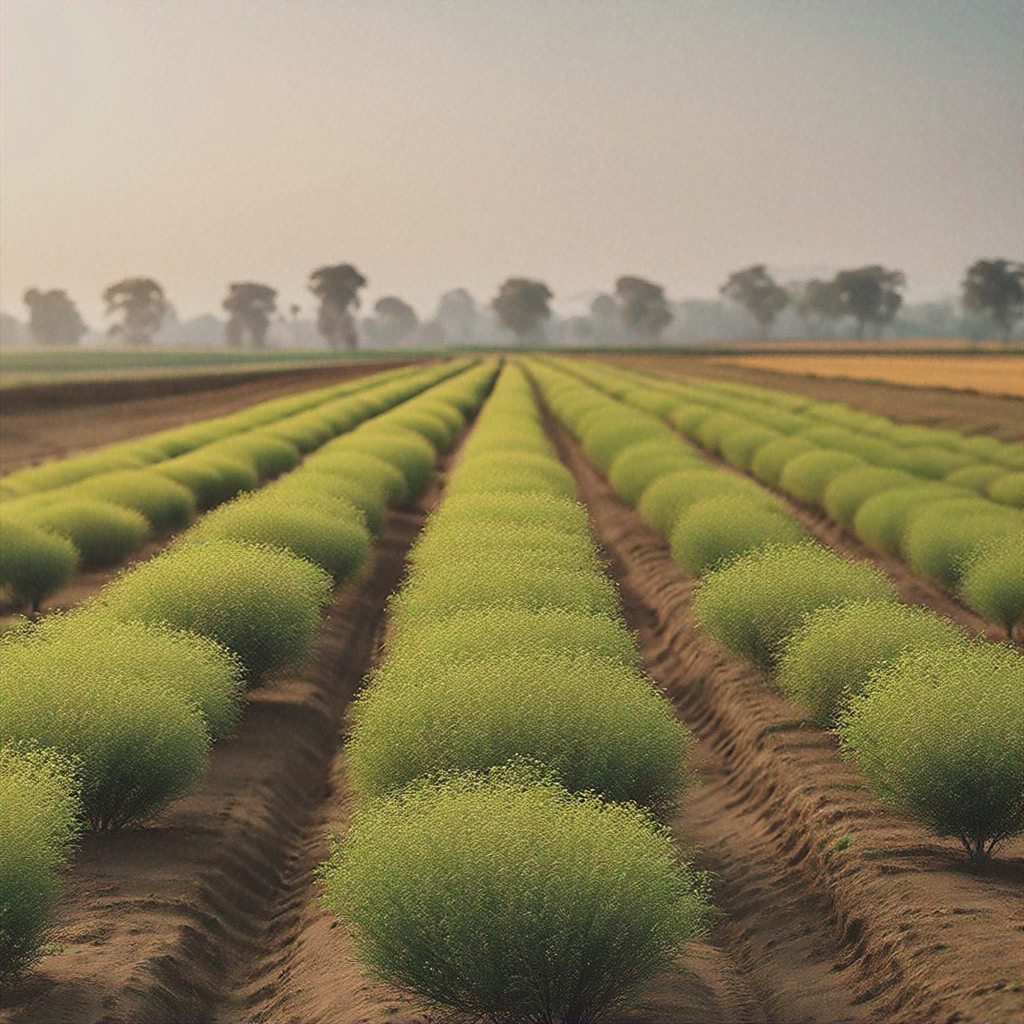
Kochia, a member of the Chenopodiaceae family, is a warm-season annual that thrives in semi-arid and arid regions. Its ability to withstand drought, high temperatures, and saline soil conditions makes it an attractive option for farmers in areas where traditional crops may struggle. Beyond its resilience, Kochia also offers nutritional benefits, with its leaves and seeds containing a wealth of essential vitamins, minerals, and protein.
In India, Kochia has gained popularity as a multifunctional crop, with its versatile applications in animal feed, human consumption, and even biofuel production. As the demand for sustainable and nutritious agricultural products continues to grow, Kochia’s prominence in the Indian farming landscape is poised to rise, making it a key player in the quest for food security and environmental stewardship.
Preparing the Soil: The Foundation for Success
The first step in cultivating Kochia is to ensure that your soil is well-prepared and conducive to the plant’s growth. Kochia thrives in well-drained, sandy loam or loamy soils with a pH range of 6.5 to 8.5. Before planting, it’s essential to test your soil’s pH and make any necessary amendments to achieve the optimal conditions.
Proper soil preparation also involves the incorporation of organic matter, such as compost or well-rotted manure, to improve soil structure and nutrient content. This step not only enhances the soil’s ability to retain water and nutrients but also supports the overall health and vigor of the Kochia plants.
Planting and Sowing: Timing is Key
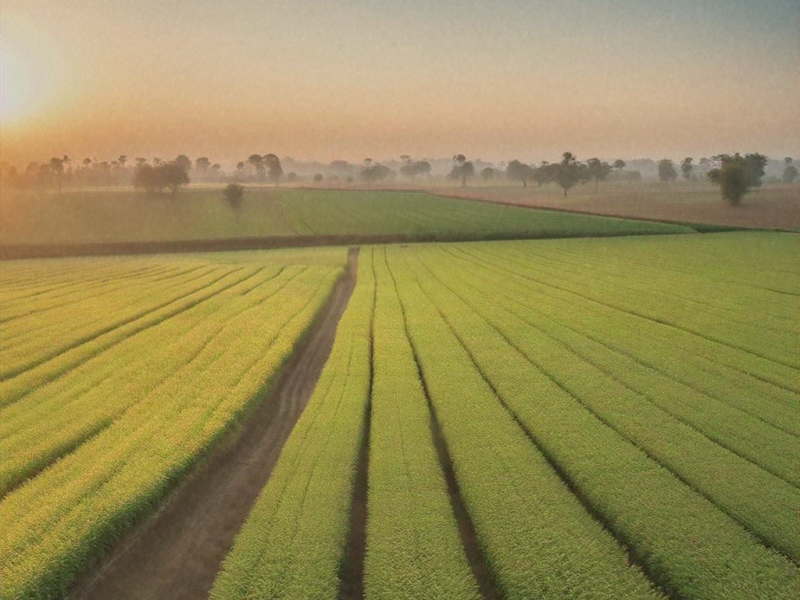
Kochia is typically sown during the spring or early summer, taking advantage of the warm and sunny conditions that are essential for its growth. The ideal sowing time in India varies depending on the region, but generally, the best time to plant Kochia is between March and June, ensuring that the plants have ample time to establish themselves before the onset of the monsoon season.
When it comes to sowing, Kochia seeds can be directly planted in the field or started in a nursery and then transplanted. If opting for direct sowing, the seeds should be planted at a depth of 2-3 cm and spaced 30-45 cm apart, depending on the desired plant population. For transplanting, seedlings should be carefully uprooted and replanted at the same depth as they were growing in the nursery.
Irrigation and Water Management
Kochia is a relatively drought-tolerant crop, but it still requires careful water management to ensure optimal growth and yield. During the early stages of growth, regular watering is essential to support seedling establishment and root development. Once the plants are well-established, you can reduce the frequency of irrigation, relying on the plant’s natural ability to withstand dry conditions.
It’s important to note that overwatering can be just as detrimental as underwatering, as Kochia is sensitive to waterlogged soil conditions. Aim to maintain consistent soil moisture, avoiding both excessive dryness and excessive wetness. Drip irrigation or other water-efficient methods can be particularly effective in managing Kochia’s water requirements.
Nutrient Management: Balancing Fertilizers
Kochia is a hardy crop, but it still requires a balanced supply of nutrients to reach its full potential. Proper nutrient management involves the application of both organic and inorganic fertilizers, tailored to the specific needs of your soil and the growth stage of your Kochia plants.
During the initial stages of growth, a moderate application of nitrogen-based fertilizers, such as urea or ammonium sulfate, can promote vigorous vegetative growth. As the plants mature, a balanced NPK (Nitrogen-Phosphorus-Potassium) fertilizer, supplemented with micronutrients, can help ensure optimal flower and seed development.
It’s crucial to follow recommended application rates and schedules, as over-fertilization can lead to excessive growth, while under-fertilization can result in stunted plants and reduced yields. Regularly monitoring the plants’ appearance and performing soil tests can help you fine-tune your nutrient management strategy for the best results.
Pest and Disease Management: Safeguarding Your Crop
Like any crop, Kochia can be susceptible to various pests and diseases, which can significantly impact yield and quality. Common challenges include insect pests such as aphids, leafhoppers, and stem borers, as well as fungal diseases like leaf spot and root rot.
To effectively manage these threats, a combination of preventive measures and targeted interventions is recommended. Adopt integrated pest management (IPM) strategies, which may include the use of resistant cultivars, crop rotation, and the judicious application of eco-friendly pesticides or biopesticides.
Regular field monitoring, early identification of problems, and prompt action are key to maintaining a healthy Kochia crop. Consult with local agricultural extension services or experienced farmers to stay informed about the latest pest and disease management techniques in your region.
Harvesting and Post-Harvest Handling
The timing of the Kochia harvest is crucial, as it directly affects the yield and quality of the crop. Generally, Kochia is ready for harvest when the plants have reached their full maturity, typically 90-120 days after sowing, depending on the cultivar and growing conditions.
The best time to harvest is when the plants have reached the late flowering or early seed development stage. At this point, the leaves and stems will have a vibrant green color, and the seeds will be plump and mature. Careful hand-cutting or mechanical harvesting should be employed to ensure minimal damage to the plant material.
After harvesting, the Kochia biomass should be dried thoroughly in a well-ventilated area to reduce moisture content. This step is crucial for preserving the nutritional value and shelf life of the crop. Once dried, the leaves, stems, and seeds can be separated, packaged, and stored in a cool, dry place for further processing or distribution.
Yield Optimization: Maximizing Your Kochia Harvest
Achieving high yields is a key goal for Kochia farmers, and there are several strategies to consider for optimizing your harvest:
- Select high-yielding Kochia cultivars that are well-suited to your local growing conditions.
- Ensure optimal soil preparation, nutrient management, and water management practices to support plant growth and development.
- Implement effective pest and disease control measures to protect the crop from potential yield-reducing threats.
- Carefully time the harvest to coincide with the peak maturity of the plants, ensuring maximum biomass and seed production.
- Invest in post-harvest processing and storage techniques to minimize losses and maintain the quality of your Kochia crop.
By following these step-by-step guidelines and yield optimization strategies, you can unlock the full potential of Kochia cultivation, contributing to the overall agricultural productivity and sustainability in India.
👥 Readers added context they thought people might want to know
Agri-X Verified PunjabFarmer_01
✔
PunjabFarmer_01
✔
Current formatting suggests planting in June. However, 2025 IMD data confirms delayed monsoon. Correct action: Wait until July 15th for this specific variety.
Have a correction? Log in to contribute.